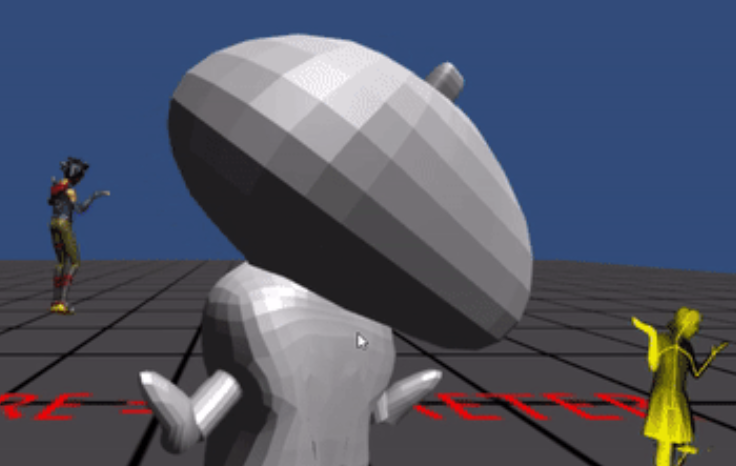
I'm definitely no character animator by trade, but there comes a time when you end up with a Unity project that somehow requires it. There are obviously many automatic rigging methods available (Blender does actually have an auto-Rigging system called Rigify for biped humanoids) and you could even try to download other rigs made by other people and plonk them into your scene, but I found that so many of the rigs including the rigify one seems to involve so many complicated bones you don't need, so you end up having to sift through the bones, deleting so many unwanted bones, renaming bones, perhaps even having the impression of the impossibility of rigging up them bones.
Although it may seem terrifying at the beginning (I'm not an animator or rigging specialist!), I found that surprisingly, it is not that difficult to manually rig up all your bones if what you have is a very simple humanoid character. You just need to be orderly and to stick with the admittedly tedious bone naming process. (Although our character is blobby, we're sticking with a humanoid as we're going to use it with the Kinect to sync it with the movement of the human user, and our human user is going to return a humanoid set of values that we'll need to rig up our character to...)

According to the Unity Blog's post on Mecanim Humanoid:
"The skeleton rig must respect a standard hierarchy to be compatible with our Humanoid Rig. The skeleton may have any number of in-between bones between humanoid bones, but it must respect the following pattern:"
Hips – Upper Leg – Lower Leg – Foot – Toes
Hips – Spine – Chest – Neck – Head
Chest – Shoulder – Arm – Forearm – Hand
Hand – Proximal – Intermediate – Distal

This is the list of all the bones you need (I found it useful to copy and paste in these names directly)
head
neck
collarbone.L
collarbone.R
upperArm.L
upperArm.R
lowerArm.L
lowerArm.R
hand.L
hand.R
chest
abdomen
hips
upperLeg.L
upperLeg.R
lowerLeg.L
lowerLeg.R
foot.L
foot.R
toes.L
toes.R
Optional: eye.L and eye.R
For starters: Ensure that your character model is positioned at origin and that its pivot point is also at origin (0,0,0). Make sure you reset the scale to 1 just in case (Ctrl+A, Select Scale). The hip bone is the key bone in all this, so start by creating one big bone starting from the bottom of hip to top of the chest. Hit Space and start typing "Subdivide Multi" (Armature) and give it 2 cuts so you get 3 bones. These will form the hips, abdomen and chest bone.

After you've done the main spine bones, you can turn on x-axis mirror.

- Select the ball on top of the bottom bone (hips bone). Make sure Options>Armature option>X-Axis Mirror is selected, then press Shift-E to extrude mirrored bones. When you're in mirror mode, every time you create a new bone, you'll have a second one mirrored on the other side of the X-Axis. Remember that you'll have to rename BOTH bones later on - if you are facing your model face-on, also remember that L is actually to the right and R is to the left, and name it accordingly.
- Arrange the leg bone into position (you may need uncheck "Connected" in order to let the leg bone go into the right position). Reposition the leg bones away from the hip. Subdivide Multi (1 cut) this leg bone into two bones, forming upperLeg and lowerLeg.
- Shift-E to extrude two more foot and toe bones, and also add in the collarbone, arms and neck+head bone. Do make sure you keep it all in a standing T-pose (as if the character is standing in the shape of the letter t).
- Ensure that all of your bones are renamed correctly as per the list. If there is an L bone there must always be a R bone.
- Go into Object Mode and Select first the character and then Shift select the armature. Press Ctrl+P and select Set Parent To - Armature Deform - With automatic weights. Your computer might lag for a second before its all connected up.

From there, you're in the home stretch. Export your Blender model in FBX format and then import it into Unity, and in Unity set the rig to humanoid (instead of generic) and at the bottom of that, hit Apply.
Let the wild rigging begin!
See also:
Animate Anything with Mecanim
